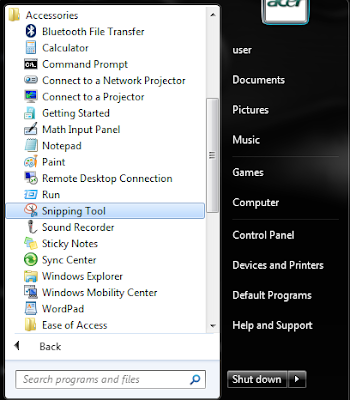
How to Use the Snipping Tool Window 7 and Window 8
Open the snipping tool app, can by typing it in the search form on the start menu.
Once the app is open, you can no longer change the look of the computer. It's good before you open the snipping tool, you've defined the view that will be in the first screenshot and then open the snipping tool. After that you can click new and start taking screenshots.
Pick the area you want to capture by dragging the cursor. After that save the image, can use the shortcut "Ctrl + S" or through the File menu.
How, very easy and simple is not it? With 3 ways above, you can take a screenshot in windows . Incidentally in this tutorial I use windows 7 , for windows 8 and windows 8.1 you just adjust it. Good luck and hopefully useful!!


Comments
Post a Comment